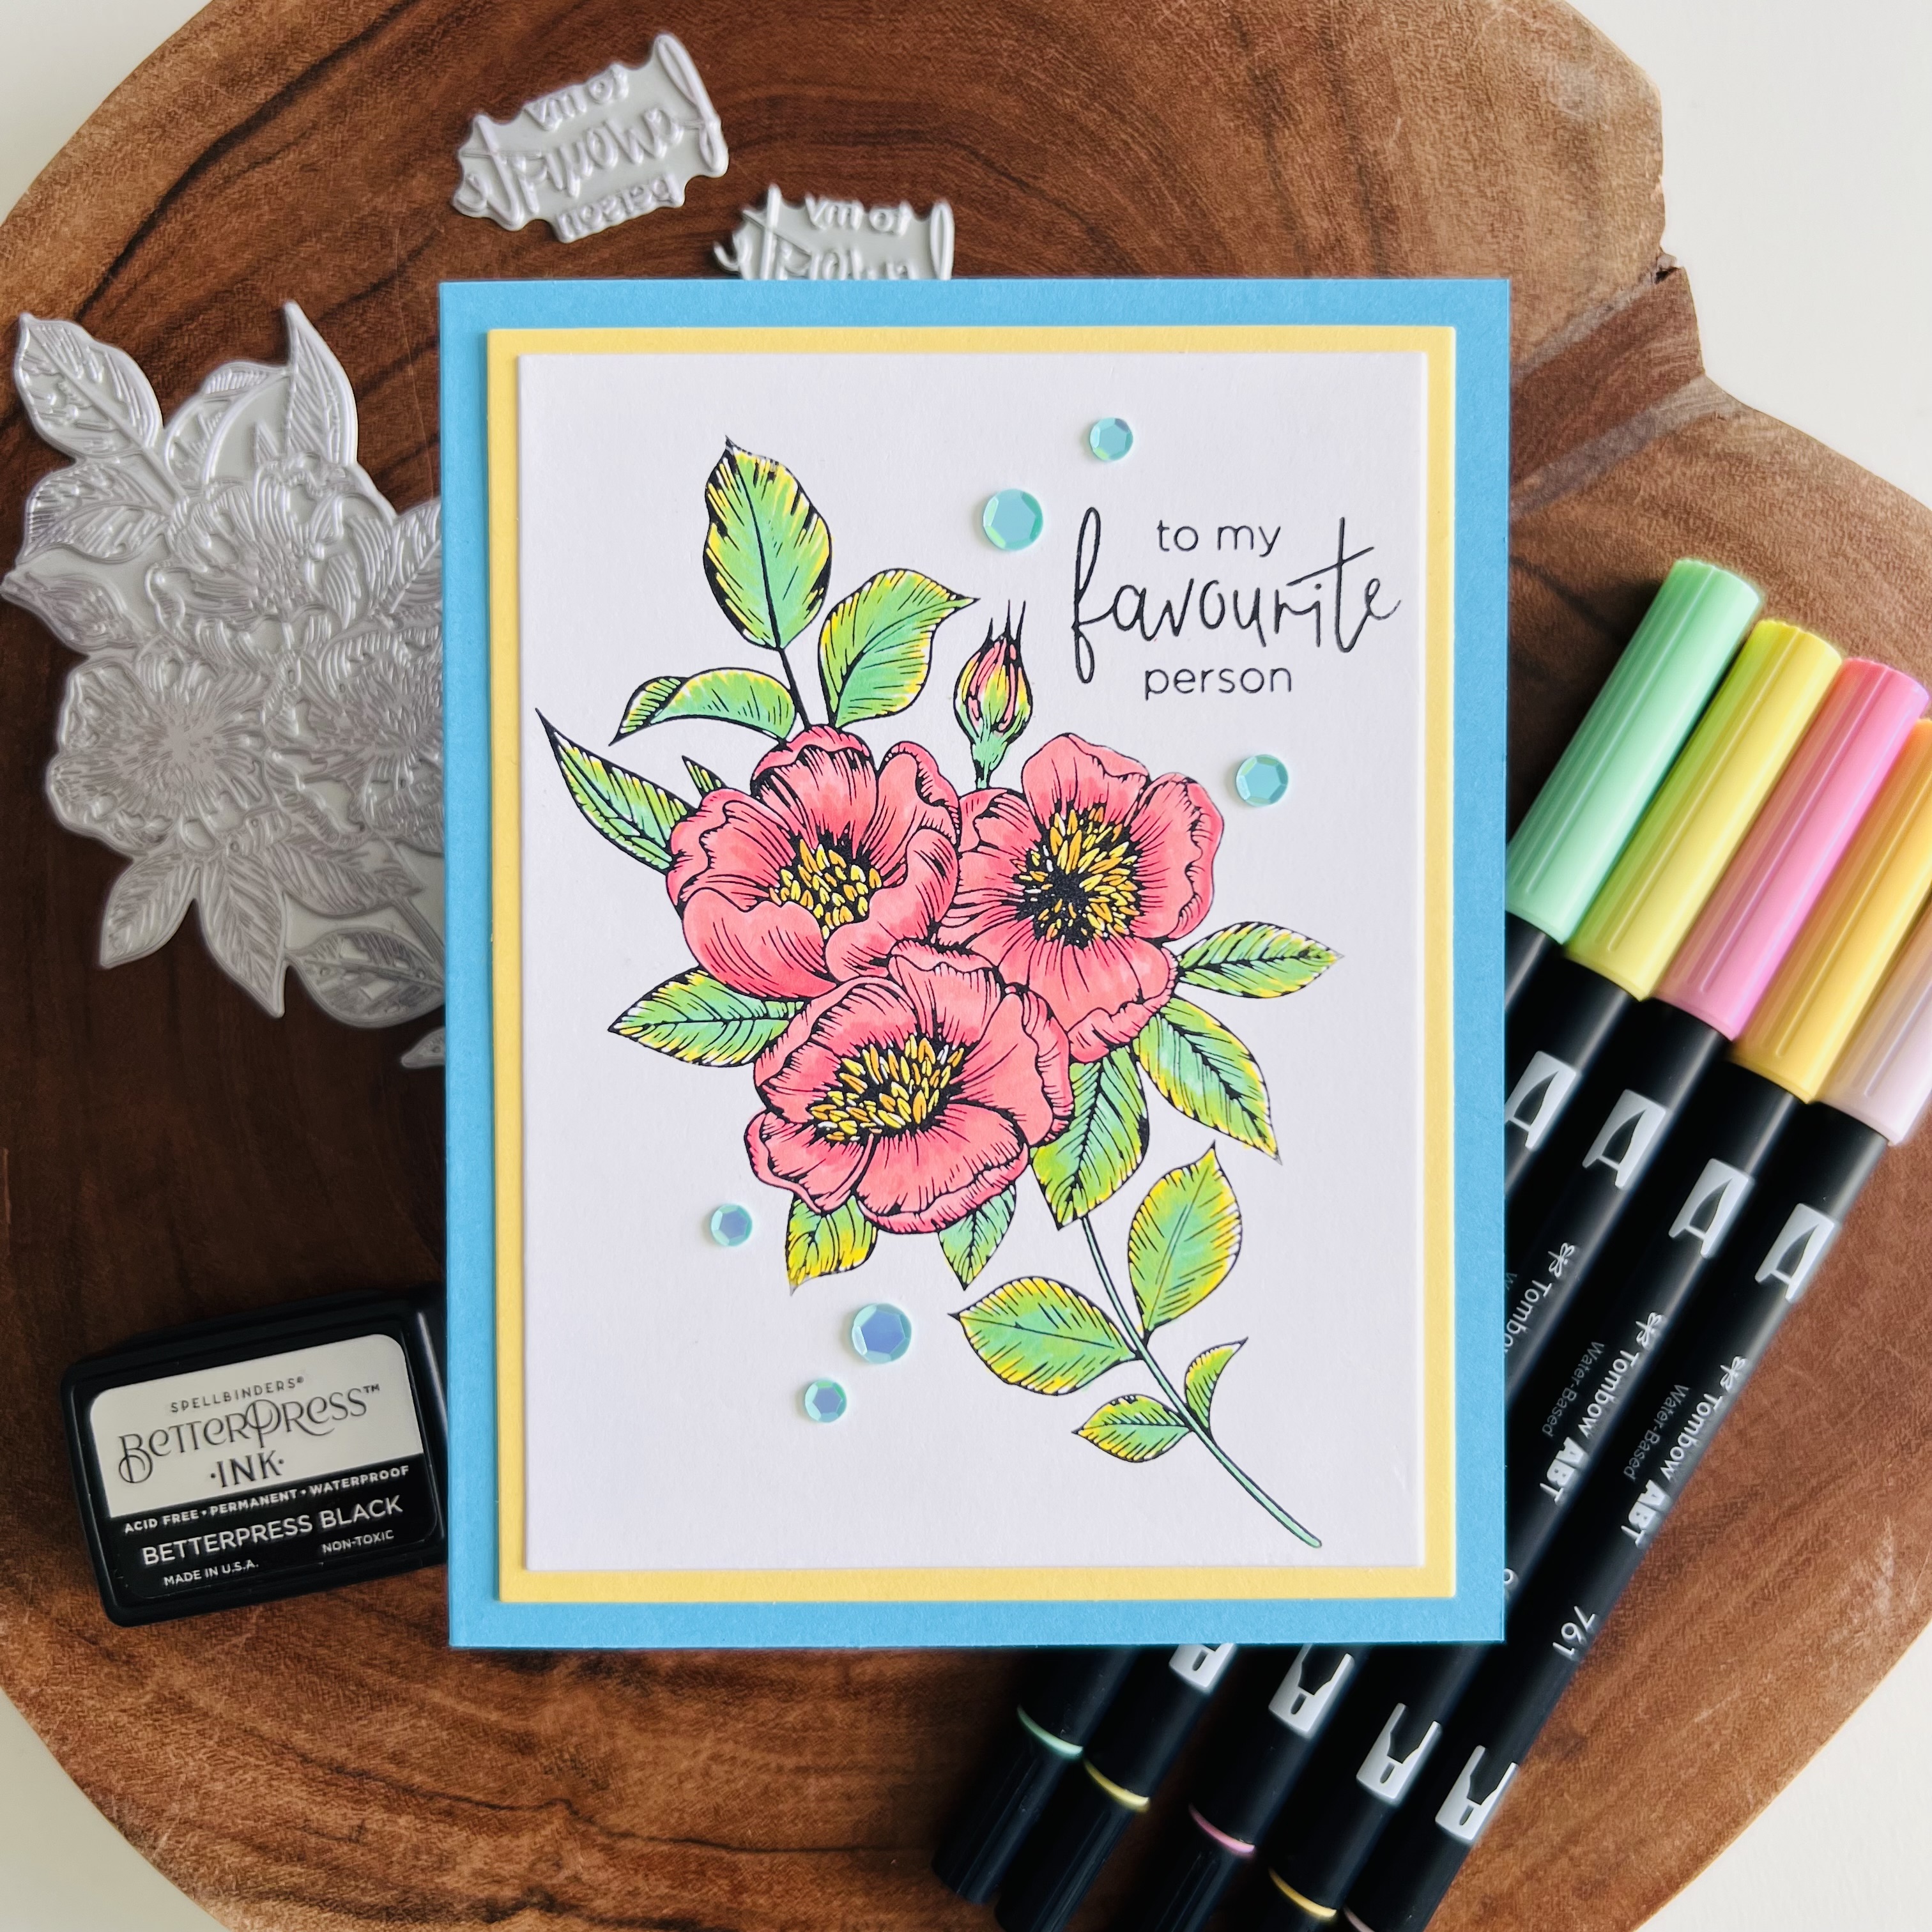
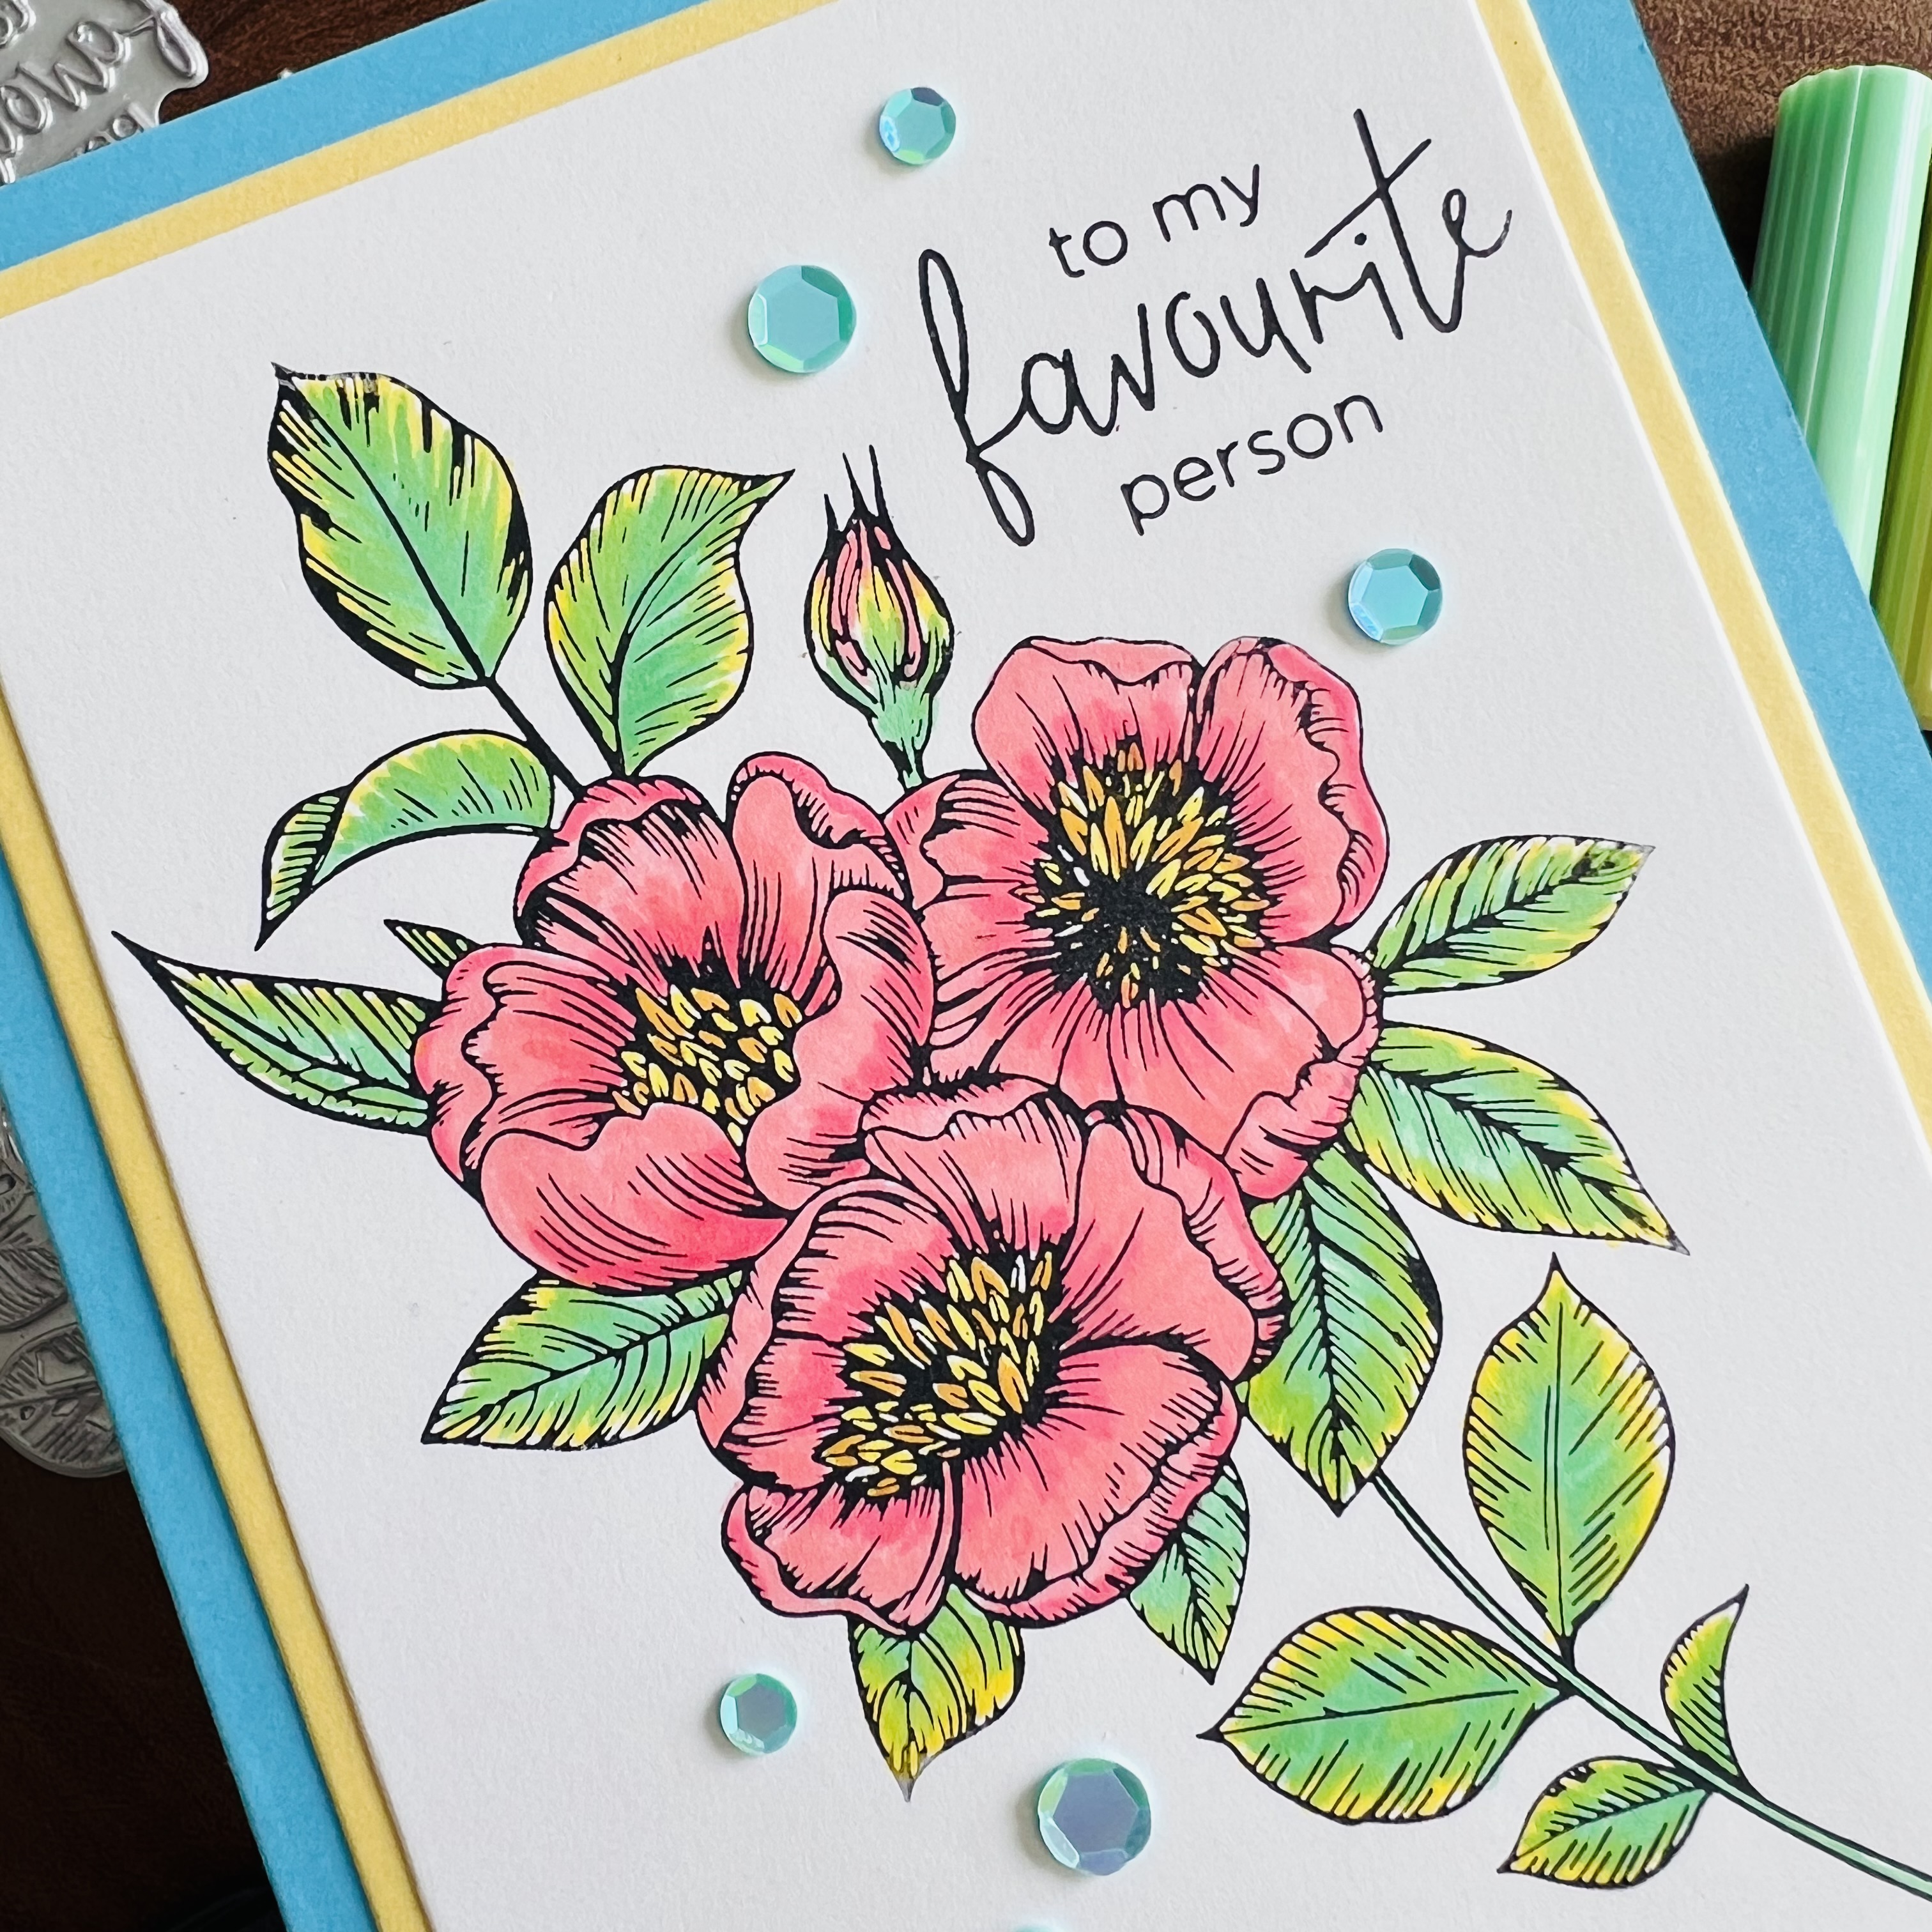
Hey there! It has been a while since my last post, but here I am. I got some inspiration from talented Donna Mikasa to participate in a challenge called Throwdown Challenge #753. My card features a beautiful Better Press LetterPress plate from Spellbinders and the color combo for the challenge: pink, aqua, yellow and lime.
This is a simple card, using the BetterPress black ink and coloring with some Tombow markers. I have to point out that the pretty plate and a couple of sentiments are included in the BetterPress box.
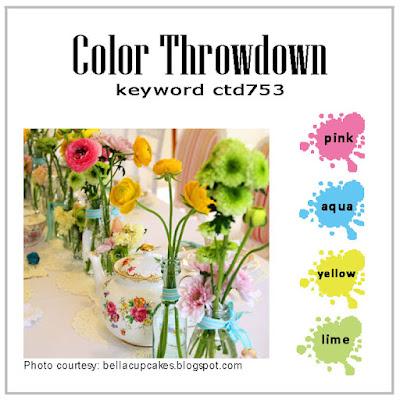
Here is the image of the challenge:
Thanks for stopping by. Have a Great rest of the week!
Hello! Quick post today just to share a card that I created using a pretty Spellbinders die set that features a large butterfly. I always have liked to use butterflies as the focal point for cards. They are so much fun!
Without Change…
Be aware that my post includes affiliate links, which means that if you click on and shop through them, I will receive a tiny commission at no cost for you. Thanks!
This die set in particular is fun because it helps assemble and create an interactive butterfly. You can make the butterfly pop-up when you open the card or you can simply use it as a regular die.
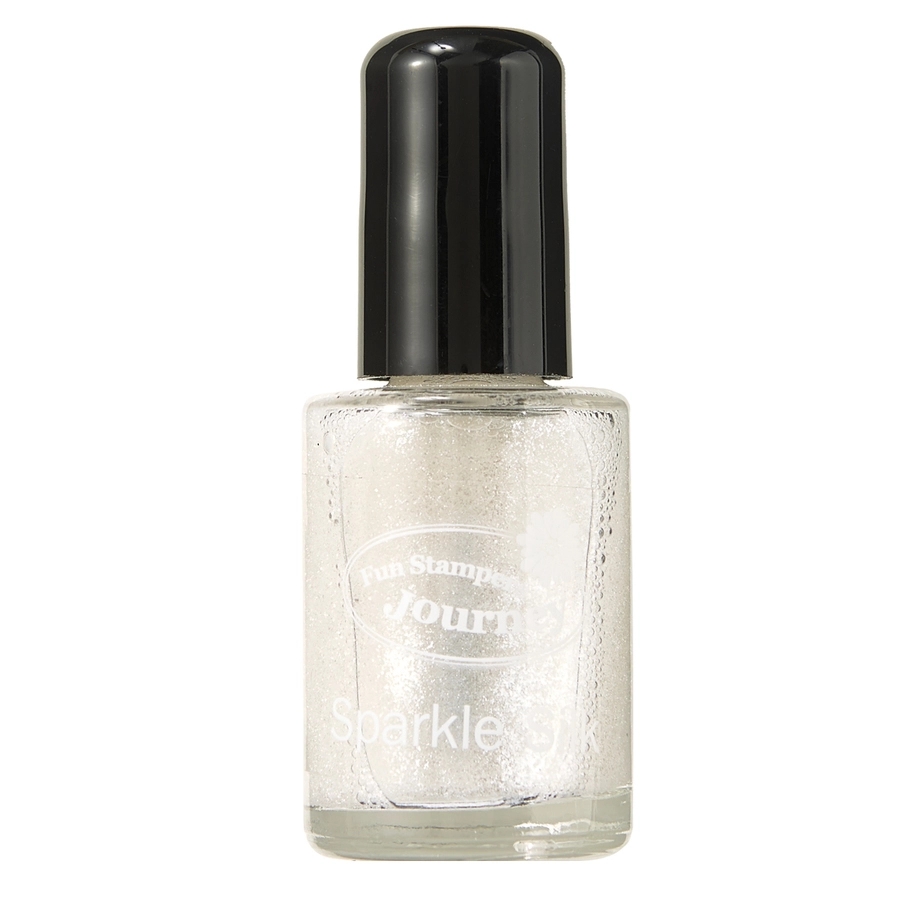
The butterfly of my card has three layers. The first one was die cut from white card stock and then I applied color using a sponge dauber and a couple of ink colors. I also sprinkled some sparkle silk over it. The second layer was die cut from black cardstock and adhered to the colored layer with craft glue. The third layer is the body of the butterfly and it was die cut from brushed silver cardstock.
The backgrounds of this card is very simple. I used a sponge dauber and ink directly from the ink pad to create it. I like that you can see a bit of the cardstock texture on the card. A sentiment and a few silver sequins were the final touches for this card. Below you can watch a video of how I did a similar background using liquid colors.
I want to point out that the Spellbinders store has different choices of butterflies stamps and dies to choose from, so please don’t forget to visit the SB store. This is the current sale…
Well, that’s all from me today. I´ll be back soon to share another project. Thanks for stopping by, have a wonderful rest of the week!
Hi! I am back today just to share another card that I made using almost the same supplies of my previous card. Once again, the highlight of this card is the background that I created using the Ranger Stamping Foam. For this card, I used a few different colors of Distress Oxide Inks and after I applied them over the foam, I spritzed a bit of water over it… the unpredictable results always amaze me!
Thank You
Be aware that my post includes affiliate links, which means that if you click on and shop through them, I will receive a tiny commission at no cost for you. Thanks!
To color the pretty butterfly I used my Copic markers and to give the image a bit of a shine I used my Wink of Stella Pen. I know is hard to see in the picture, but it looks really pretty in real life😉.
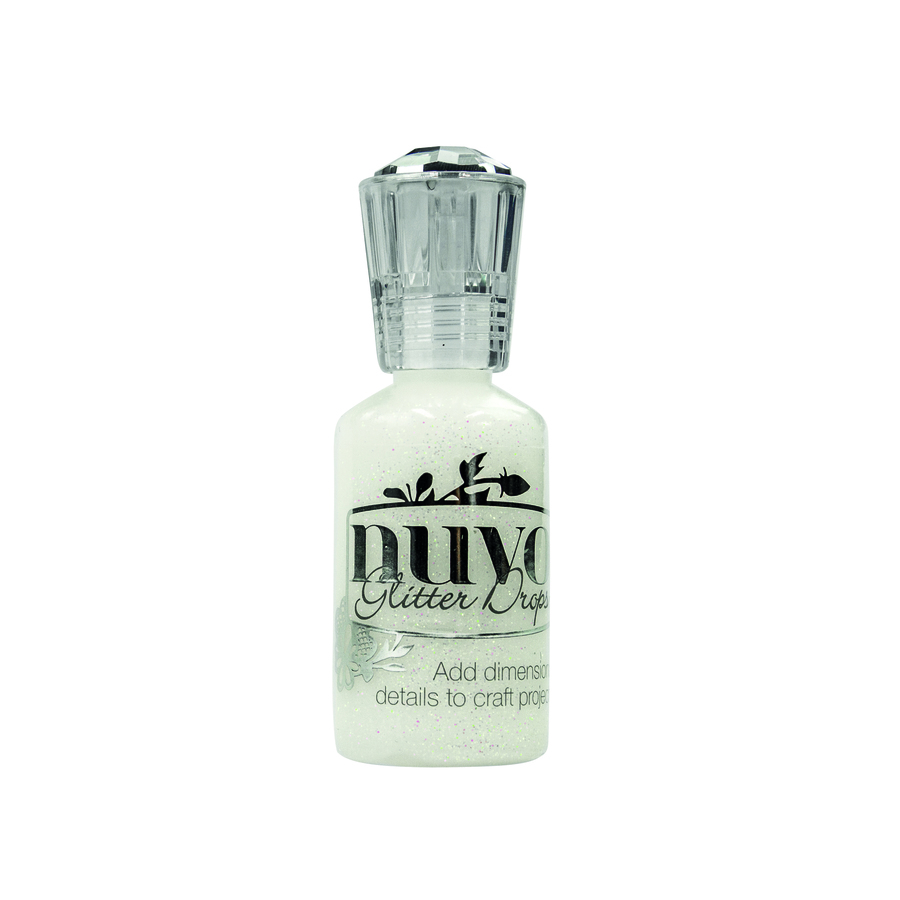
Another product that I love to use instead of gemstones is the Nuvo Glitter Drops White Blizzard. With this product you can simply put some drops here and there and then just wait a bit until it dries. The results are always fantastc!
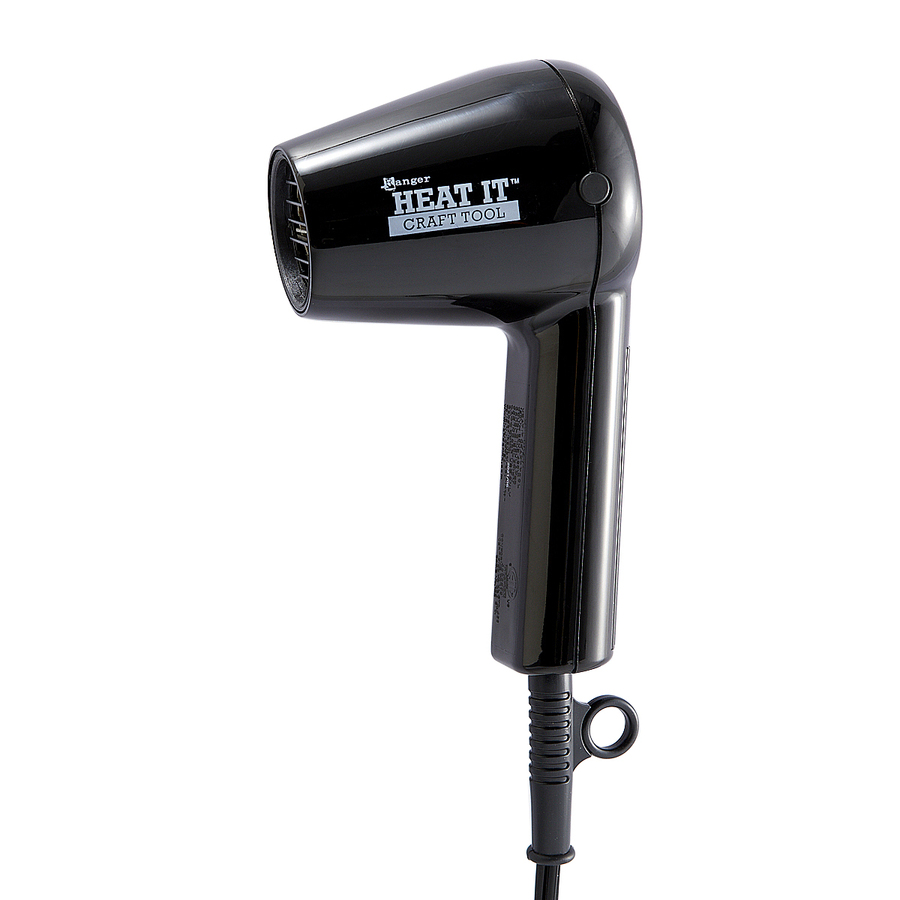
Hello! Time flies when you are busy. It has been a while since my last post, but I finally had the chance to sit for a little bit to post a card that I made a few weeks ago using some great products that you can find at the Spellbinder store. The highlight of this card is the background that I created using something really new for me, the Ranger Stamping Foam.
With the Ranger Stamping Foam, you can create unique backgrounds using different things like die cuts, stamps or any other object with dimension or texture that can be embossed on the foam. The process is simple, you only need a heat craft tool, a stamping foam and some objects that can create an embossed image. For this technique, you can experiment using different type of inks, colors, etc. The sky is the limit!
A Note of Thanks
Be aware that my post includes affiliate links, which means that if you click on and shop through them, I will receive a tiny commission at no cost for you. Thanks!
To create the background you start by heating the foam with a heat craft tool for about 15-30 seconds. Then, you press the foam onto a textured surface for about 15 seconds ( You can previously arrange dies, stamps or other objects over a flat surface). After that, you can ink it up and use it as a stamp. What I love the most about this foam is that you can re-use it. You just re-heat it and the texture will disappear; this awesome foam, will be ready to use again.
Please be sure to watch this fun Spellbinders video where the process is visually explained: https://youtu.be/wpxh3d5SZYs
Hello! I have another card that features a beautiful Spellbinders die set perfect for Christmas. I am adding the main products below the card pictures 🙂
Rejoice
Be aware that my post includes affiliate links, which means that if you click on and shop through them, I will receive a tiny commission at no cost for you. Thanks!
Hello! Quick post today just to share a card featuring a wonderful Spellbinder products: a die set, a glimmer hot foil plate and patterned paper. I am just adding the main featured products below the card pictures 🙂
Season’s Greetings
Be aware that my post includes affiliate links, which means that if you click on and shop through them, I will receive a tiny commission at no cost for you. Thanks!
Hey there! Just a quick post to share a couple of Halloween cards that I made a couple days ago. I used one of my favorite die sets for both cards and this time I am just adding the main featured products below the card pictures 🙂
Happy Halloween
Be aware that my post includes affiliate links, which means that if you click on and shop through them, I will receive a tiny commission at no cost for you. Thanks!
Hey there! Today I have a couple cards that I want to share with you. Both of these cards feature some of the recent Spellbinders additions to the Glimmer Hot Foil Plates section and the Thin Metal Etched Dies section, that you might want to get and have in your stash. As always, product details are shared underneath the pictures…
Where The Flowers Bloom
Be aware that my post includes affiliate links, which means that if you click on and shop through them, I will receive a tiny commission at no cost for you. Thanks!
Emboss a white cardstock panel with Sun Rays embossing folder. Adhere to card front.
Apply Moondust Hot Foil to a piece of white cardstock to create circle frame. Die cut with Rings Around the Circle die. Adhere to card front with foam squares.
Die cut the swan, swan details, flowers, leaves and crown from different colors of cardstock. Arrange the shapes and adhere them to card using adhesive, and foam squares.
Apply Silver Hot Foil to a black cardstock strip to create sentiment. Adhere to card front with foam squares.
Embellish card with gems.
Featured Products:
Please be sure to visit the Spellbinders store to check out the current promotion they have…
Well, that’s all from me today. I´ll be back soon to share another project. Thanks for stopping by, have a wonderful crafty day!
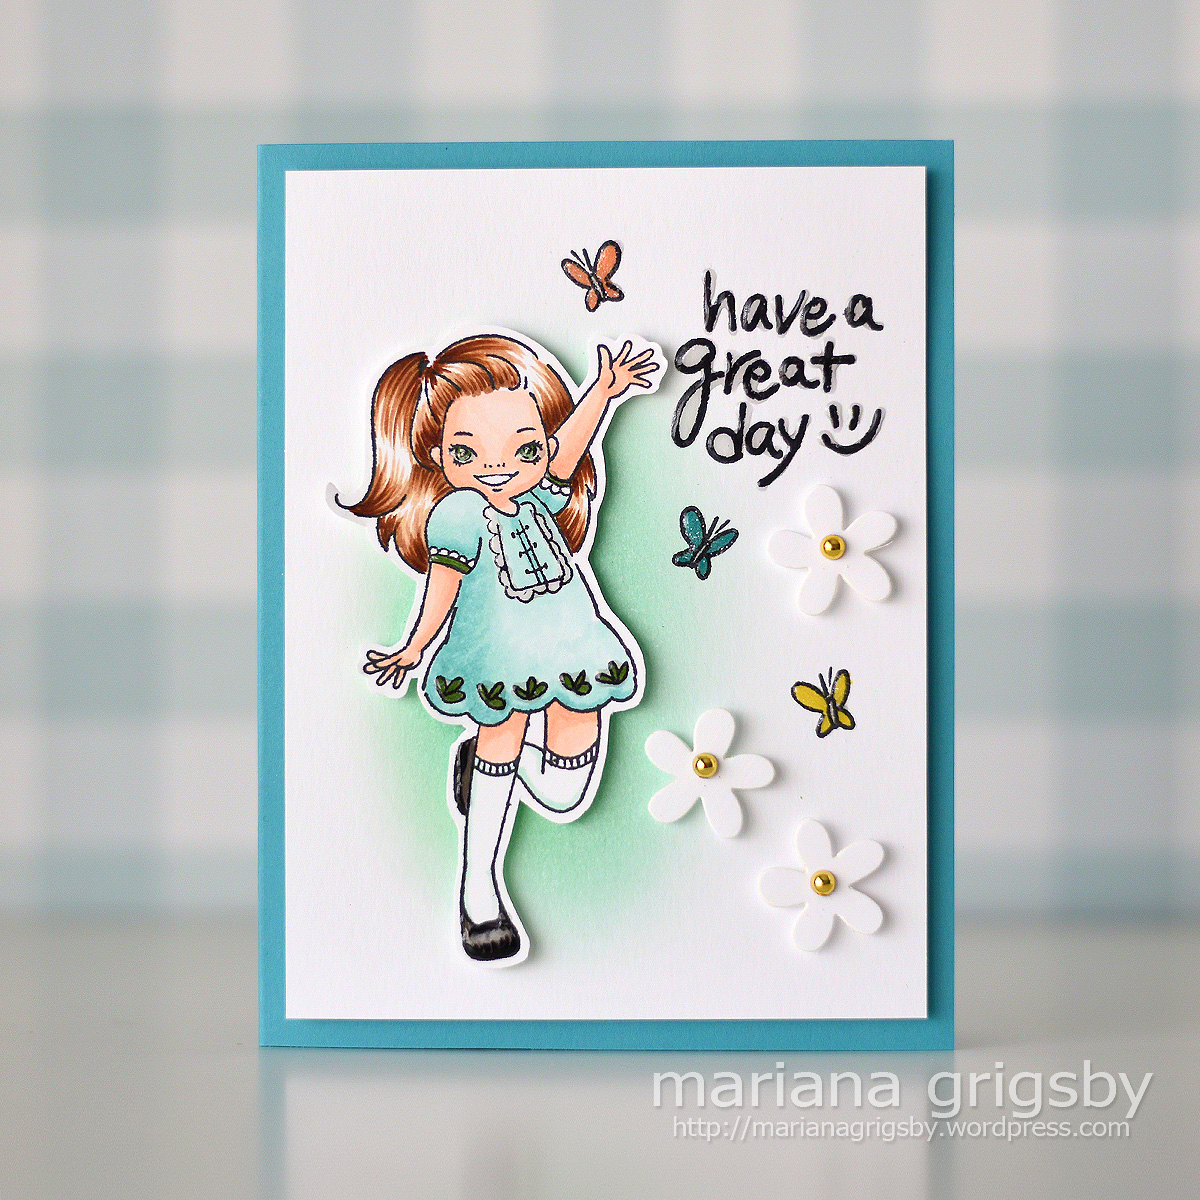
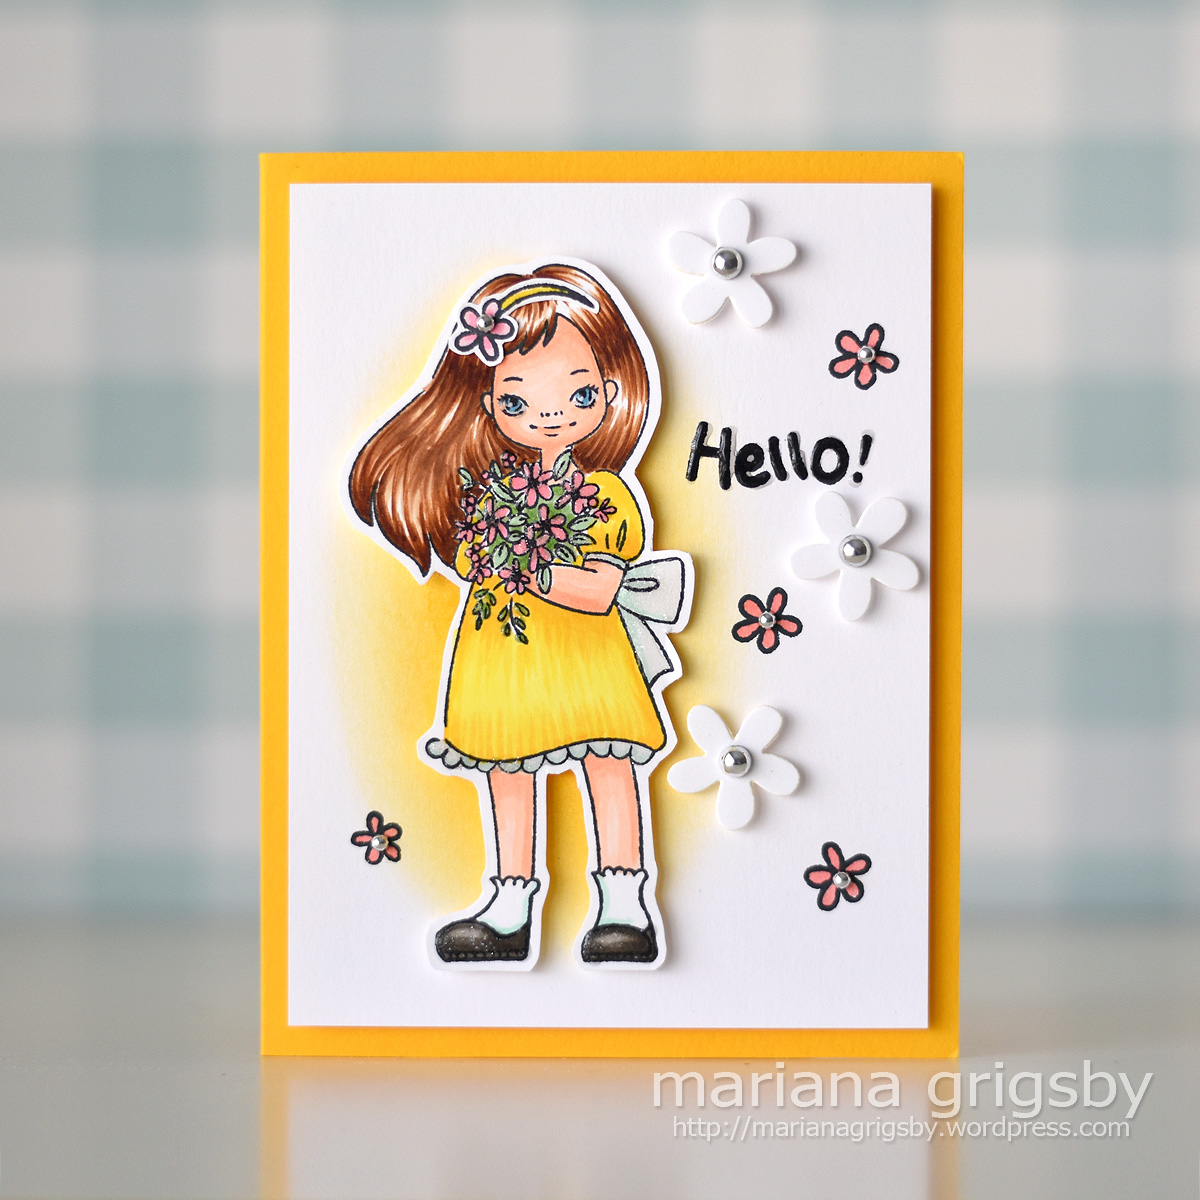
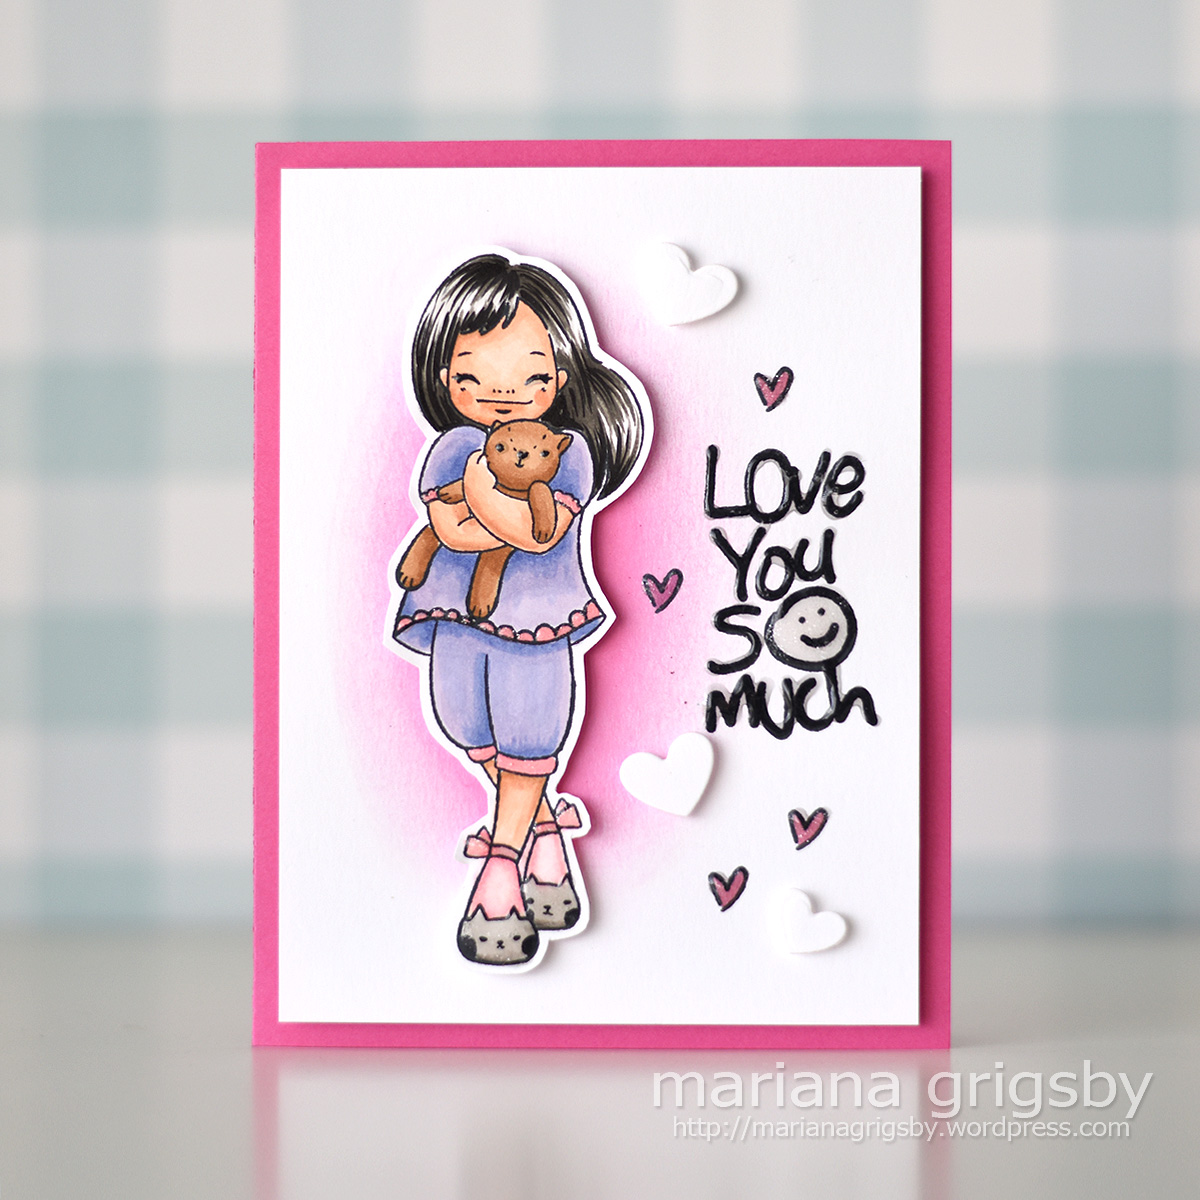
Hi there! Today I am sharing a set of cards that I created using a new collection called Delightful Darlings by Mayline Jung. The collection includes four photopolymer stamp sets that you can get as a bundle or you can also get individually: Darling Hello, Darling Bouquet, Darling Celebration, and Darling Hugs. The images included feature four adorable girls that are so fun to color. I used markers to do so, but you can use any coloring technique that you prefer. I created a set of four cards with a simple easy to make design. The stamp sets have different sentiments and images that you can easily mix and match… the idea is to have fun with them!
Darlings Card Set
Be aware that my post includes affiliate links, which means that if you click on and shop through them, I will receive a tiny commission at no cost for you. Thanks!
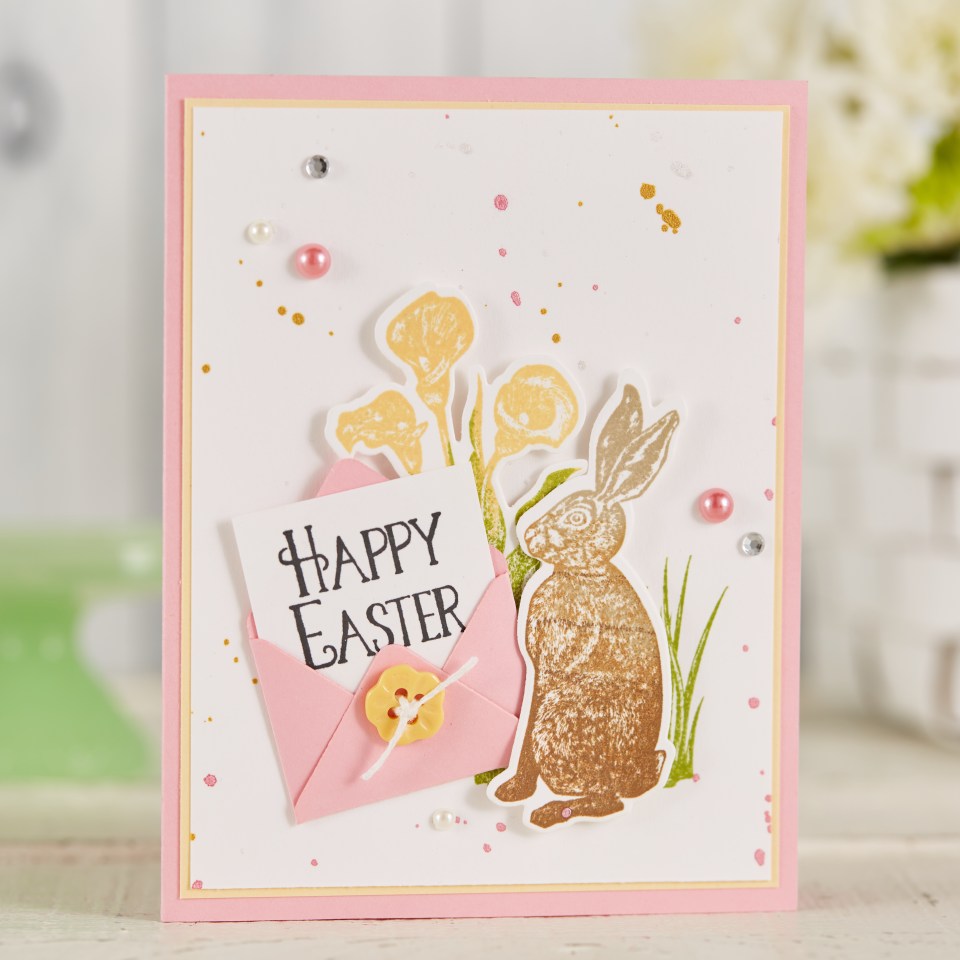
Hello friends! Today I am happy to share a card that I made featuring one of the products included in the new Expressions of Faith collection by Spellbinders. This product is called: Gleaming Cross Glimmer Hot Foil Plate & Die Set and I created an Easter card with it. This pretty cross is ideal for holidays cards, but can also be used for baptisms, sympathy cards, and more!
Happy Easter Card
Be aware that my post includes affiliate links, which means that if you click on and shop through them, I will receive a tiny commission at no cost for you. Thanks!